
What attracts customers’ attention? Ask Real Hackney Dave…
Marketing & PR
UPDATED 16TH SEPTEMBER 2023
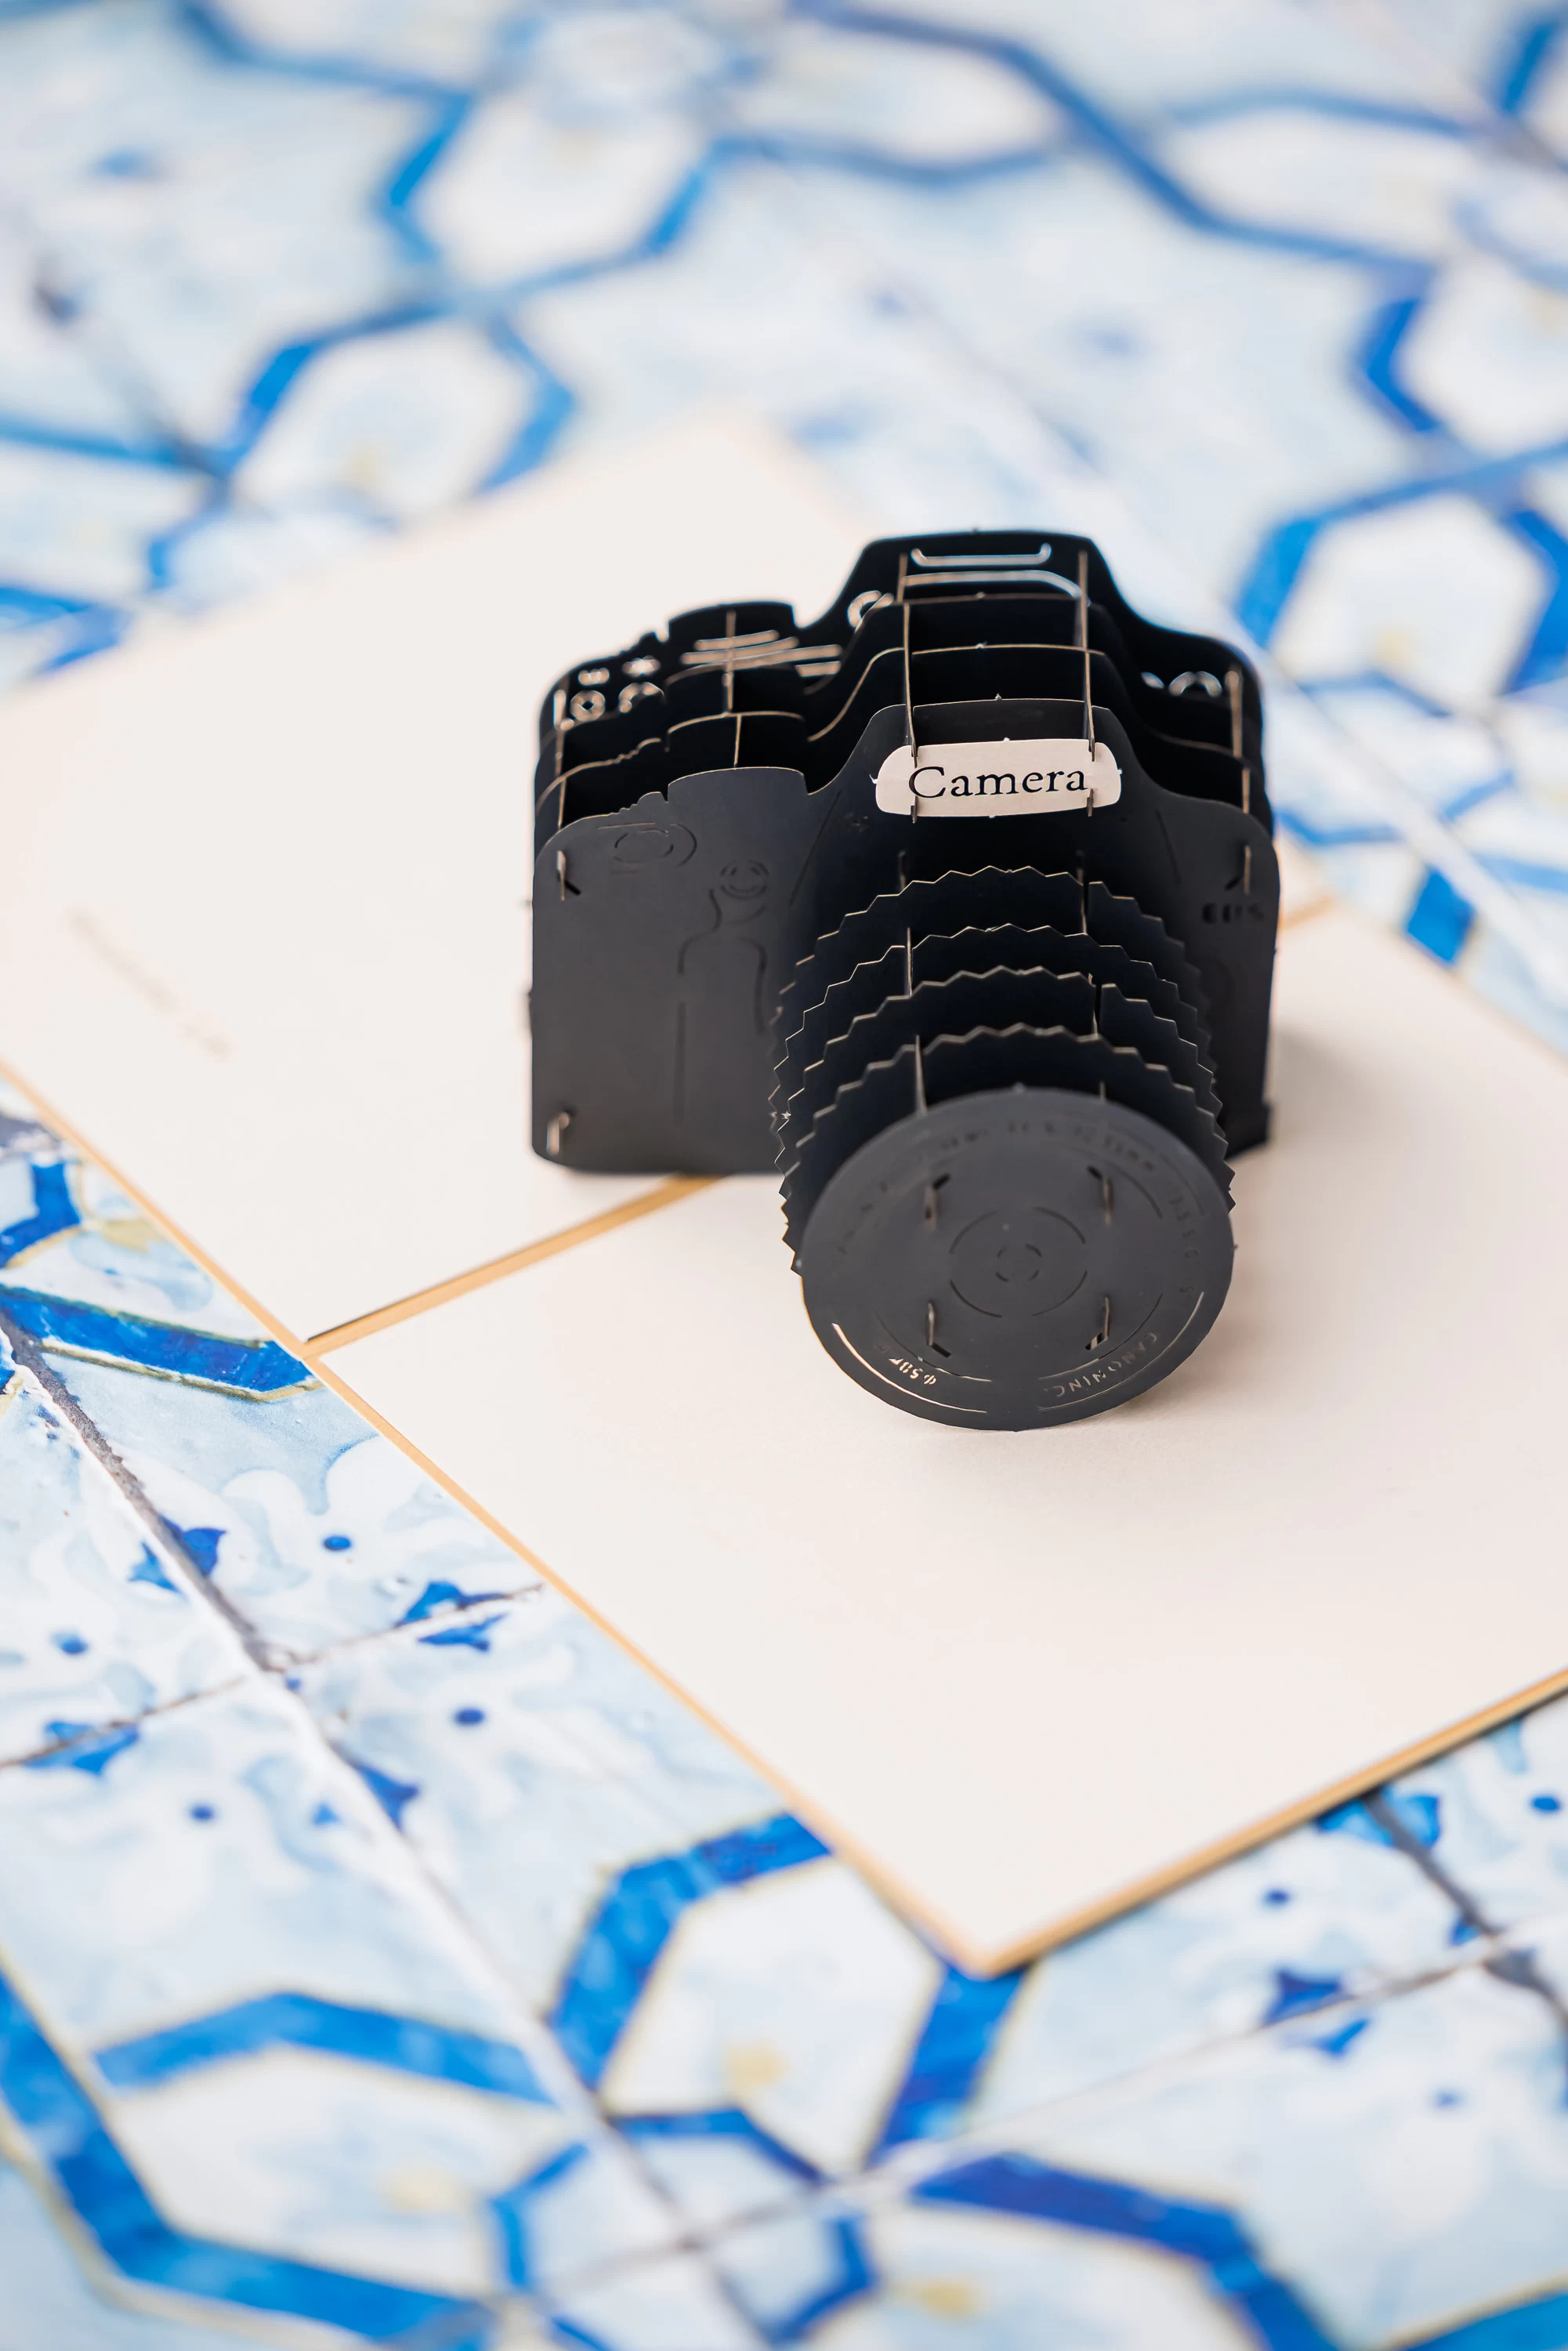
Photographing products isn’t easy if you don’t know where to start. So we’ve created some straightforward product photography tips for small businesses to make everything easier, from choosing your camera equipment to finding (good) lighting. Read on…
As wonderful as Instagram is, it’s got a lot to answer for. All those perfectly captured lives, drenched in colour and creativity. The sunlit products. The fun and artful backgrounds… While small businesses across the land are tearing their hair out and crying, “How? HOW DO THEY DO IT?!” before giving up and eating too many biscuits in despair.
With more than a billion people active on Instagram every month, 90% of whom are now following businesses¹ and many using it to shop, your product photography matters. People think visually. Your pictures represent your brand, bring your products to life and form a shortcut to emotion (your videos do too so read our ‘How to use video’ article if you’re interested). You have just a split second to capture someone’s attention in a sea of sameness. What will make your products stand out? The good news is that after years of practice, working on hundreds of shoots and learning the tricks, we’ve got this down pat. So if you don’t have the budget to hire a professional photographer who knows their depth of field from their complex shutter speed, read on…
Ok so first things first…
What best suits your brand or product type? Lifestyle (showing the items as they’d appear in real life), or cut out (with nothing in the background)? Be consistent so people start to recognise your brand. Think about the colour and mood or how you want to make people feel. What’s the story in the photo? Does it make the product feel aspirational?
Having people in your shots can really bring them to life. If you can’t afford models, who can you ask to help? Could you pool funds with another small business and share a professional? Think about backgrounds, clothing and props, too. Different textures often work well or a pop of colour. Plan ahead so you have options on the day. If something’s not working, don’t panic. Just try something else.
Your product needs to be the first thing people see in the shot (and if you want to know what makes an amazing product, read our article). The point is that if a prop or background is distracting from it, change it. We’ve found the grid function on an iPhone can help you focus on the product (in the settings, tap ‘Camera’, then ‘Grid’ and toggle the switch on the right to ‘On’). Also, have you heard of the rule of thirds to help with composition? If not, it’s worth Googling. Artists use it to balance their pieces.
With more than a billion people active on Instagram every month, 90% of whom are now following businesses¹ and many using it to shop, your product photography matters. People think visually.
Sharing your product pic on Instagram? Check it’ll work well square so you can post straight to your grid (or for stories, it’s the 16:9 ratio). If it’s for desktop, it might need to work well in landscape, for example. Will you need to allow room for text to show up in the picture? If so, ensure part of it is lighter. Plus we tend to shoot wider than we’ll need, to allow for cropping and using the image in different places. And think about what customers would most like to see. Inspire them with interesting details such as emotive personalisations, or your incredible packaging.
Natural, good lighting can transform a regular photograph into an incredible one. Try taking pictures near a window or door, or step outside. See where the light falls. Dappled shadows can look wonderful. Just don’t shoot with bright sun behind or you’ll find your subject suddenly doused in darkness.
A dirty lens will decrease the quality and sharpness of your images. The same goes for your product: Iron that garment, wipe off fingerprints or fluff the pillow. If hands will be in shot, keep nails clean and tidy, too.
Will you need to allow room for text to show up over the product? We tend to shoot a little wider than we’ll need, to allow for cropping and using the image in different places. Think about what customers would most like to see, and inspire them with interesting details.
Turn your flash off to avoid messing with the colour and quality of your photos. If you’re using an iPhone, also turn off the ‘live photos’ feature to ensure the one you use is in focus. Try not to use the ‘zoom’ feature either as you’ll risk losing the image clarity.
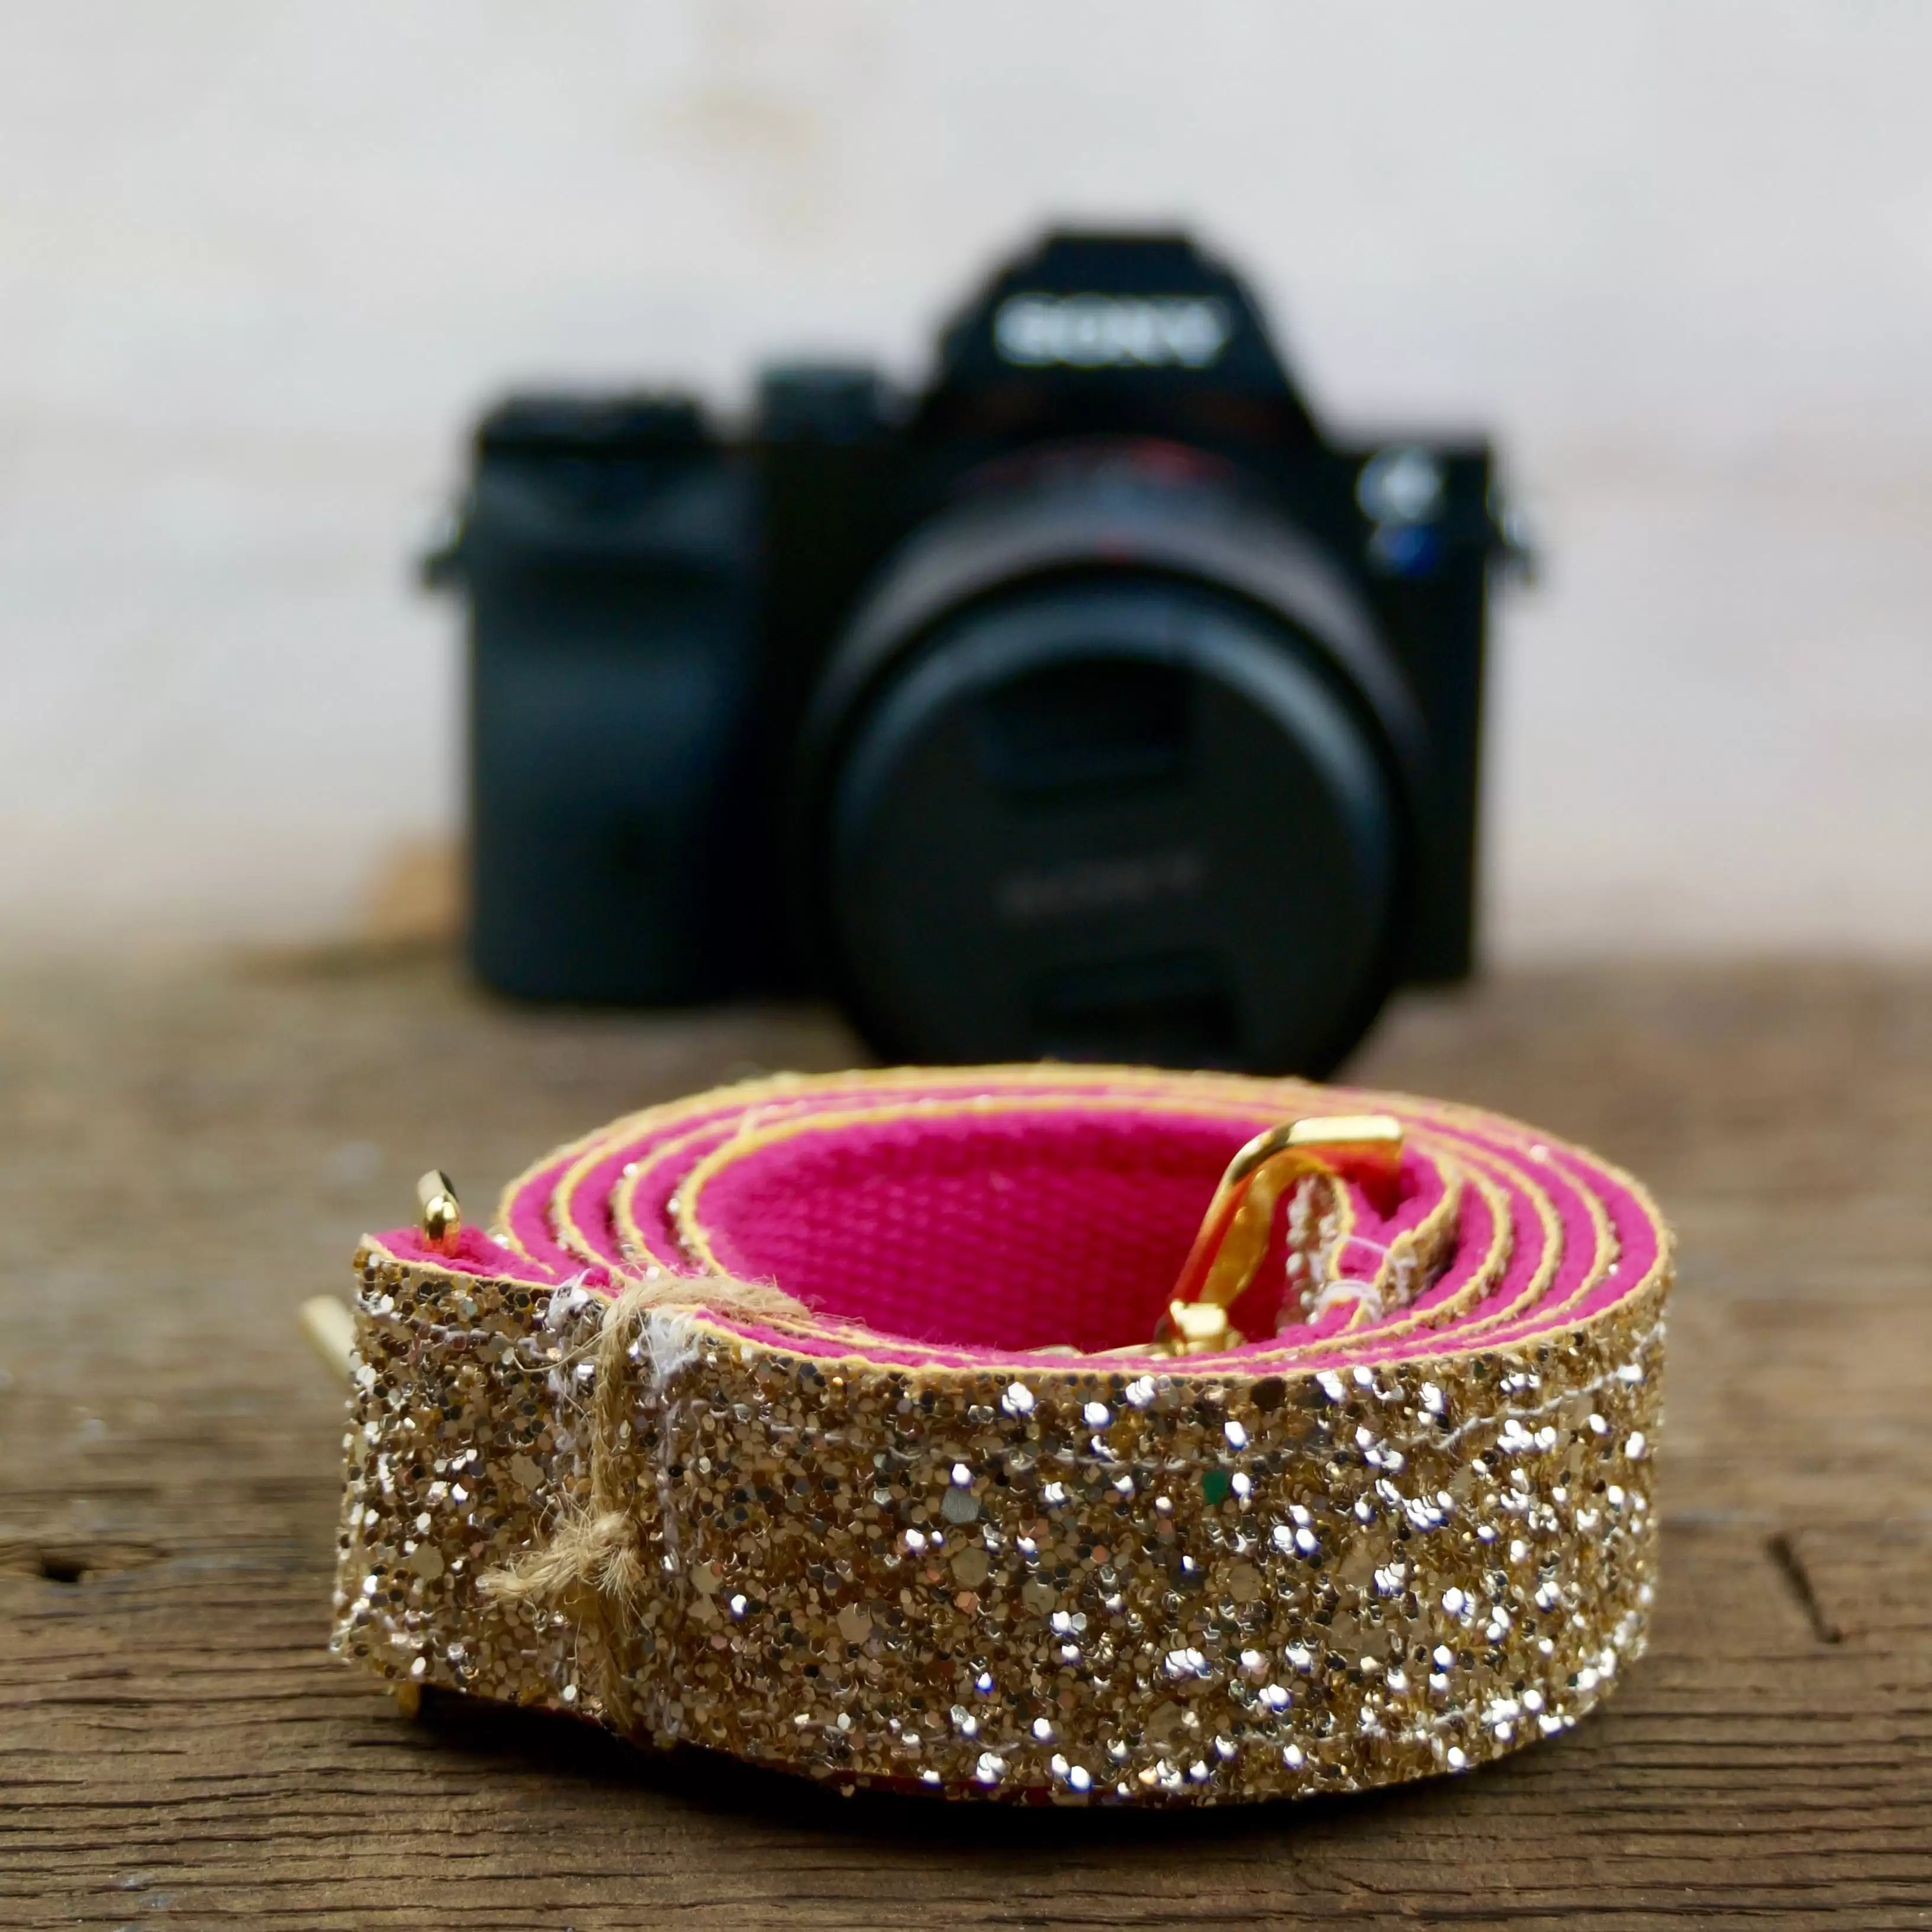
It doesn’t need to be fancy. We use our phones a lot at Holly & Co (although we do use a photographer sometimes too). The bit of kit we can’t live without is our £20 tripod, which eliminates camera shakes, and provides consistency between products. If you’re shooting small, detailed products (like jewellery), you might want to invest in a high-grade smartphone camera lens (a macro one) or use a camera. Do your research, check reviews or speak to our community for advice.
Even if you think you’ve taken the best photo ever on the first go, take multiple shots — with and without props and people in. Having options gives you more flexibility when you come to edit them.
Often the brilliance of a first class image is created in the edit. Apps like Lightroom, VSCO and Snapseed are all free and can help you perfect your brand’s editing style and preferred crops.
At Holly & Co, it definitely took us a while to find our signature style and figure out what works for us (and what doesn’t!). We’ve spent many a morning, wobbling up ladders, pleading with people to help out and making props to get that perfect shot. The main thing is to just keep going. You’ll soon be putting the biscuits down and picking the phone or camera up (and if you want to support UK photographers, try our photography category). Just remember…
Get creative, focus on your product and think where your pictures will be used.
Choose your lighting well and consider what to shoot with, the kit you’ll need and that you’ve picked the best settings.
It’s always a good idea to shoot more than you’ll need and then take your time editing. Good luck!

Sources: 1. Instagram monthly active users, Statista Research Department
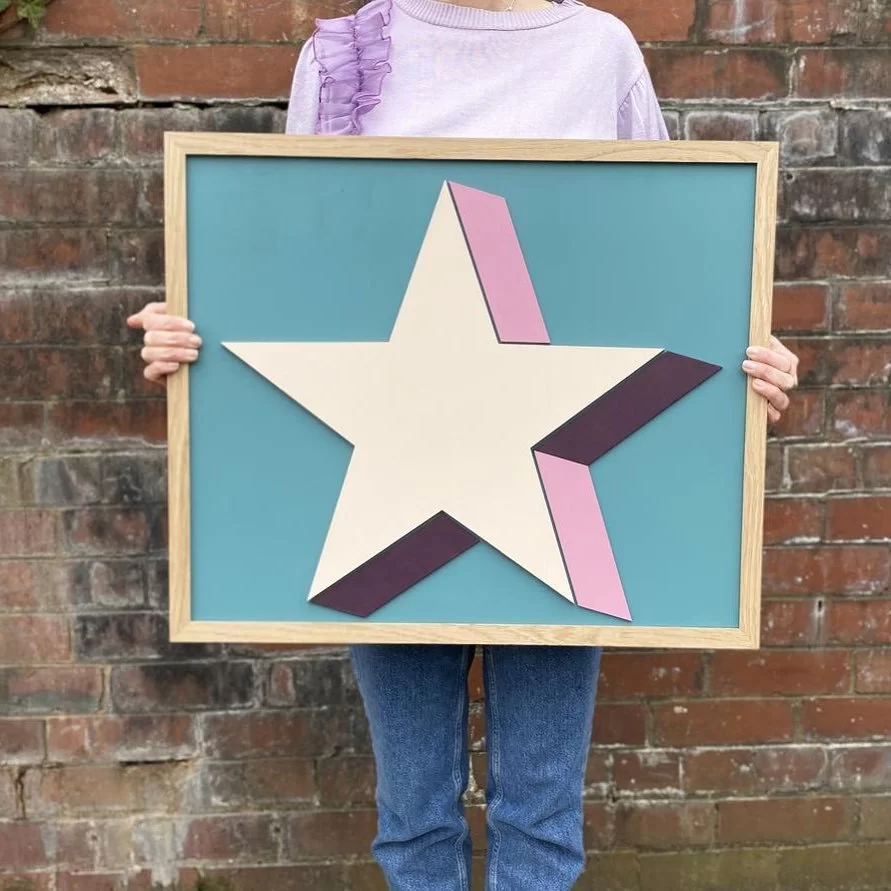
Images: Star wooden sign — by Modo Creative.
Sign up to our emails for brand new small business gift and homeware ideas, as well as the latest creative inspiration, delivered straight to your inbox.